Our Teacher of the Month: Hilary Rice
WonderFil Specialty Threads

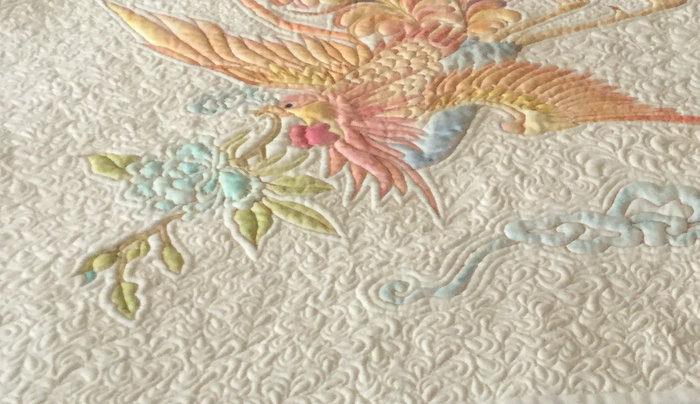
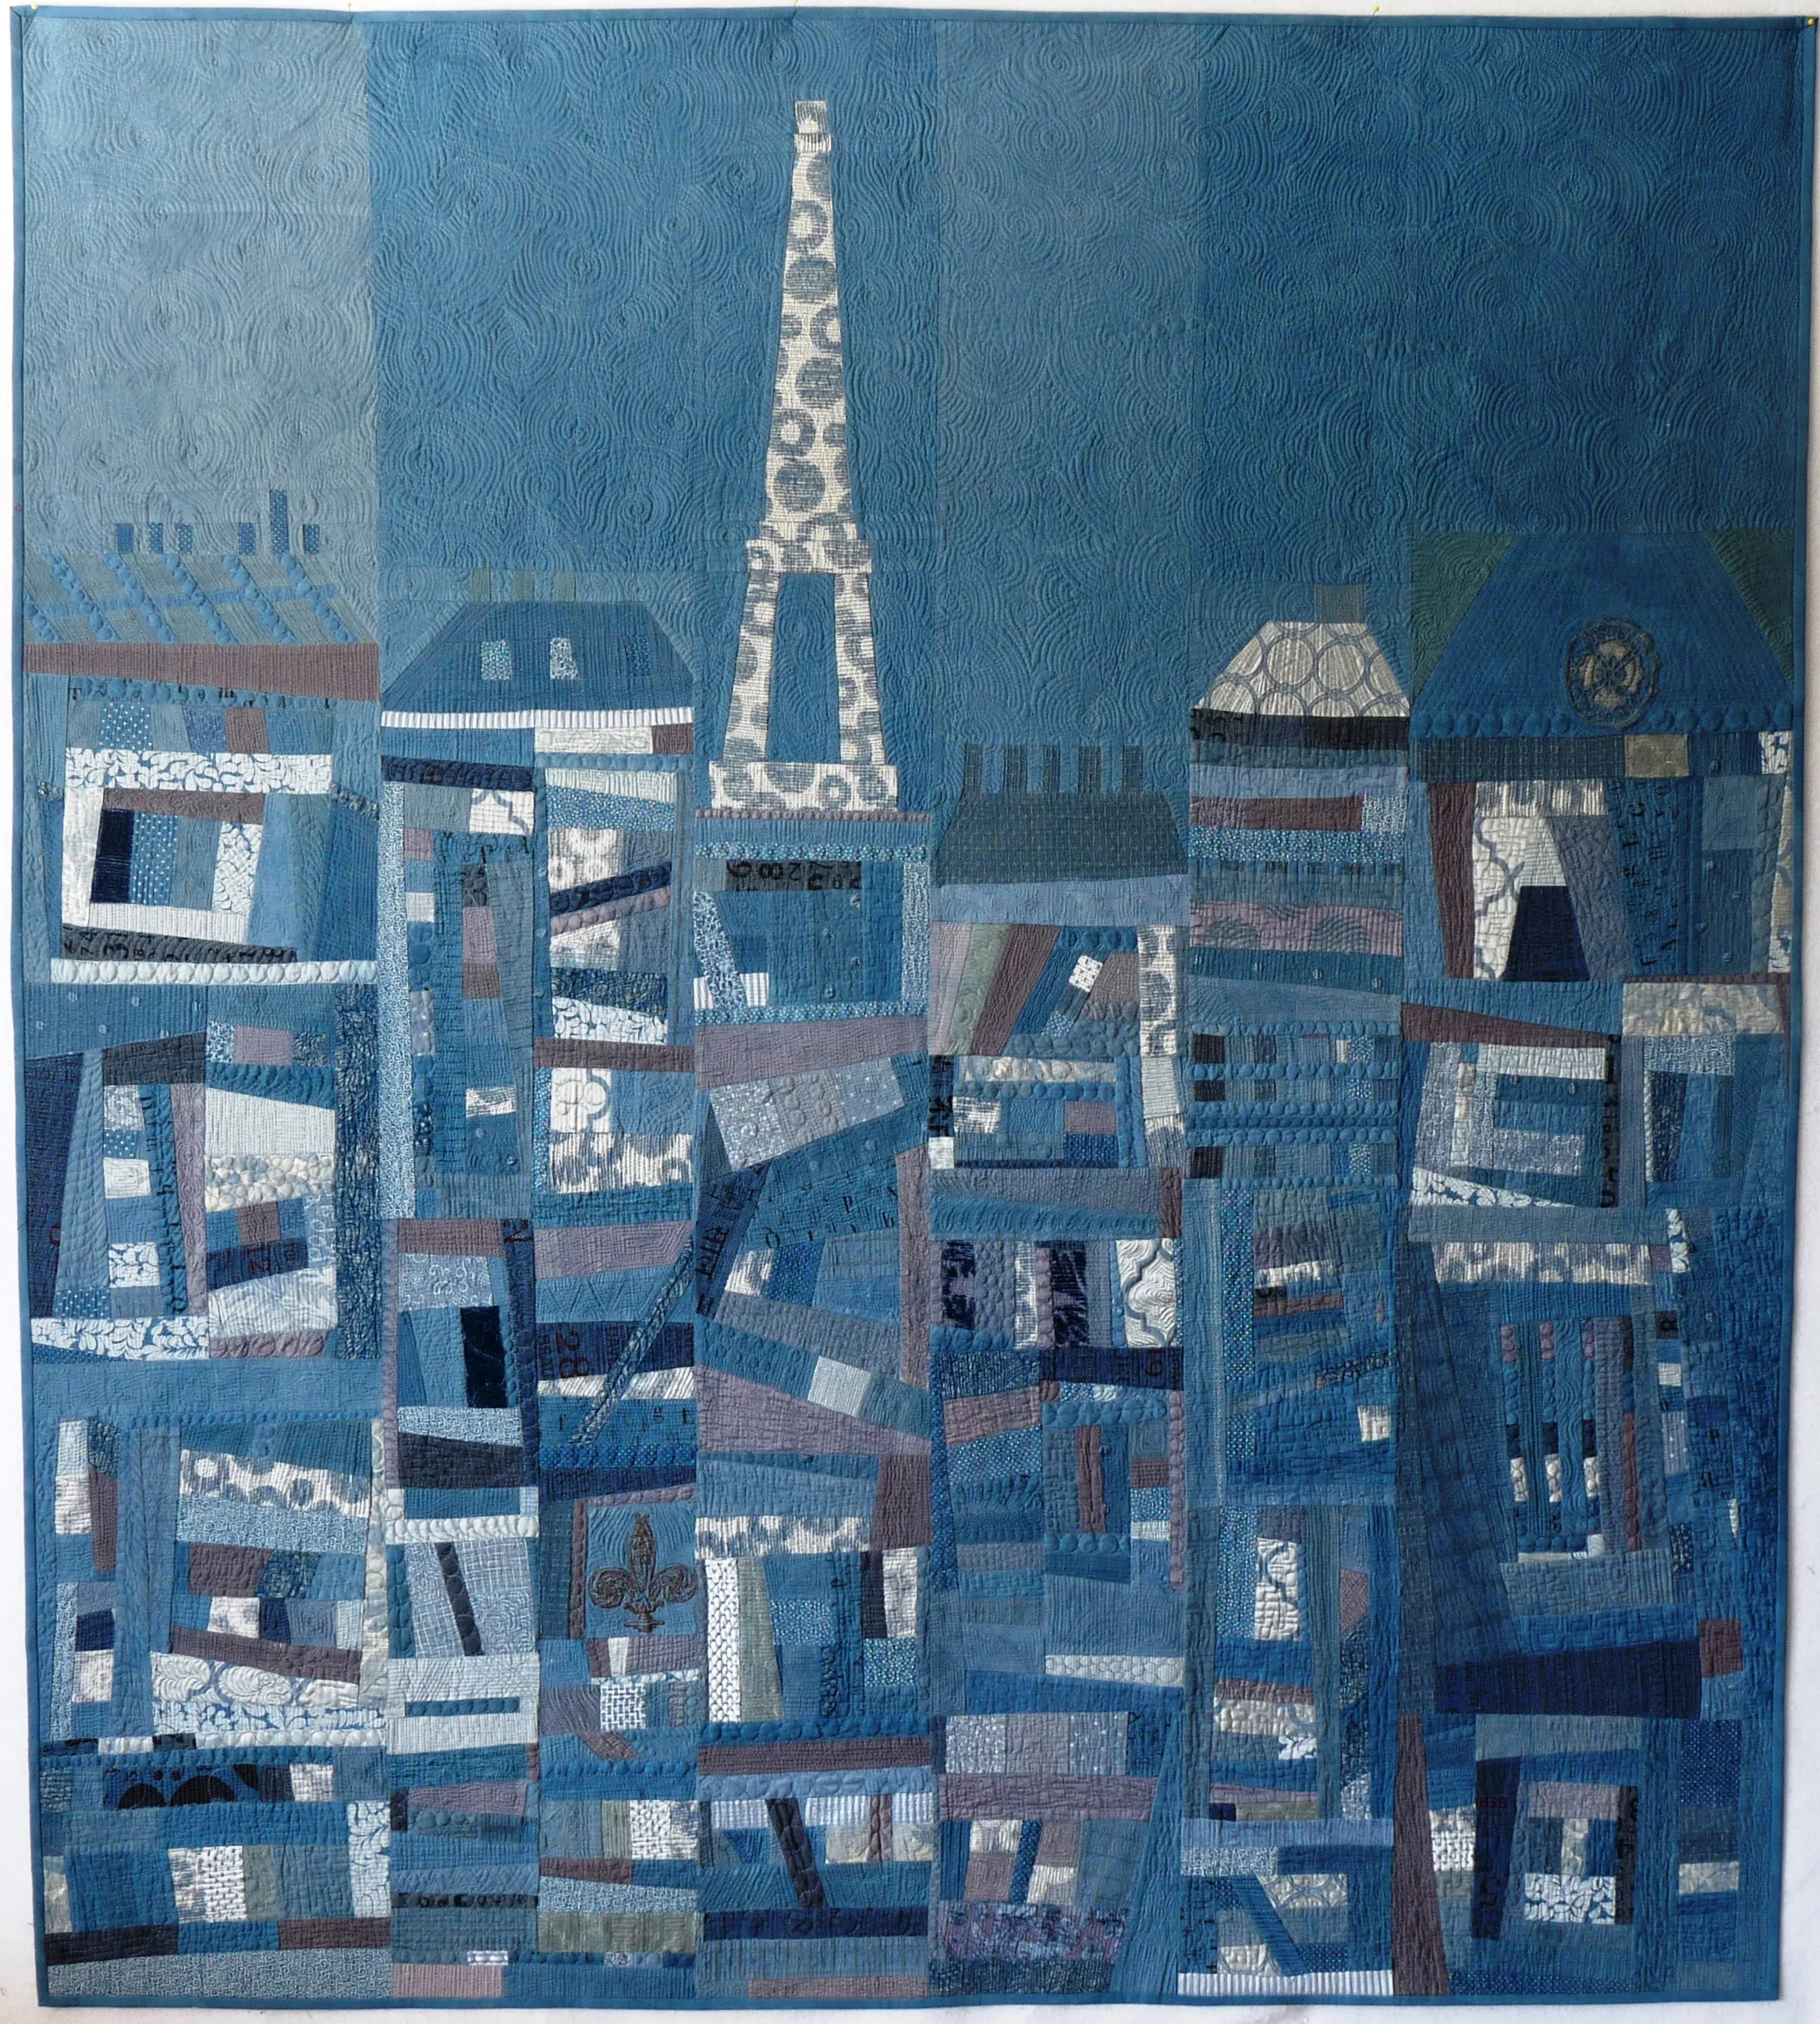
"Grace"
using WonderFil Threads InvisaFil, Splendor, PolyFast, Spotlite, Dazzle and Sizzle

Hilary has been part of our Teacher Program since 2008.
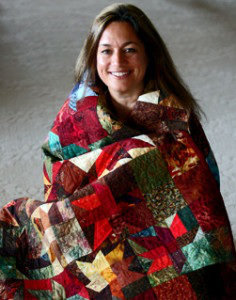
Hilary Rice
Hilary Rice, an award-winning Textile & Mixed Media artist, has an experimental approach to her use of a multiplicity of techniques and unusual materials. Her classical music training at Queen’s University is evident in her colour-filled, skilfully embellished, flowing textile-based works. The diverse results, while strongly connected in design and style, offer a wide audience appeal.
In recent years, Hilary has developed a strong presence in the quilt art world across Canada, marketing her line of art quilt patterns under the “Mother Earth” label and teaching art and design based workshops. She has exhibited widely, with work in national and international shows. Hilary is a fully certified judge with the Canadian Quilter’s Association, and is a proud member of the “Connections Fibre Artists”.
Q: You create many different art forms. What is it about quilting that appeals to you?
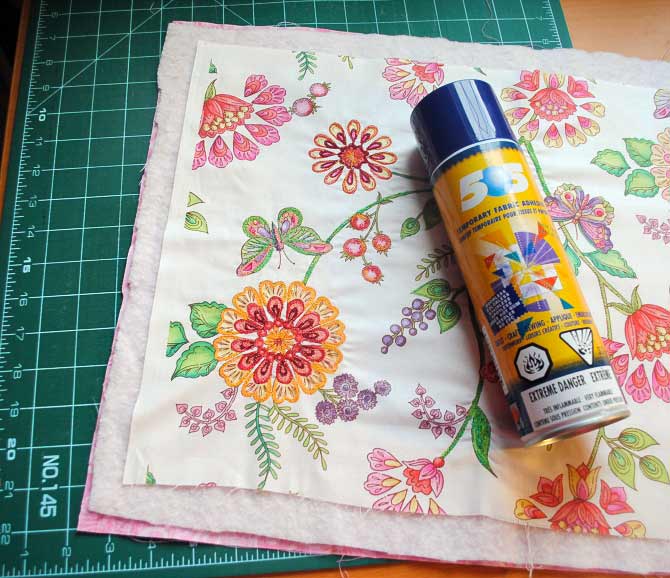
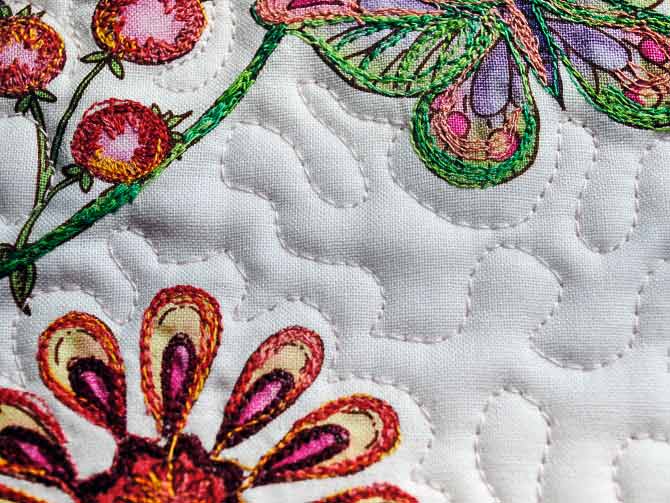
A: I have moved through a number of different stages with my textile art, with each stage focusing on a new ‘love’. I began with curved piecing, pushing myself as far as I could. Soon, along the way with this, surface design snuck into ‘the picture’ (pun intended!), and I discovered the work of Libby Lehman, and how she used thread to create dynamic quilts. I began to use her ‘threadplay’ technique occasionally. And now, at this point in my career, I am enjoying focusing even more on highlighting the threadwork, becoming more and more detailed and expressive using thread. Using intense stitching together with a layered ‘quilt’ produces wonderful trapunto shapes. This is where I am now – exploring the results from this. So, to answer your question directly, I believe it is the challenge that each new ‘love’ presents – the challenge to create something meaningful and expressive, and developing my skills to their limit in order to create a physical representation of what is in my heart.
Q: Where do you find inspiration for your quilts? Do you know when you start one what mediums you will include, or do you add to it as you go?
A: Inspiration seems to come from somewhere deep within, melded with an experience of nature and my sense of the holy. I will often find a phrase I read that speaks to me, and I’ll jot it down. Later, I’ll return to these notes, and what speaks to me then, grows in my imagination. I mull it all over… thinking of what elements need to be used to produce the feeling that I am experiencing. This often begins with colour. Then I start to make choices, continually narrowing. The mediums come with this process, as I choose certain aspects that are best illustrated with one of my usual techniques (although unusual for most quilters). I do often begin with a small thumbnail sketch, but I’m completely open to adjusting that as the work develops.
Q: How many times a month do you teach? What is your favorite part about teaching?
A: I really love passing on my excitement of the creative possibilities available. My favourite classes are ones that introduce these possibilities, knowing that if the student is truly interested in developing their artwork, they will take in the information and work at making it their own. I try to limit my teaching to once a month: the rest of my time I try to focus on creating.
Q: What are your favorite WonderFil threads?
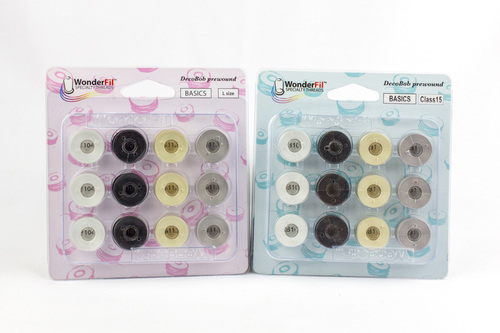
A: My favourite WonderFil thread is InvisaFil. It really works for me, because of the intense stitching that builds up… InvisaFil is super fine, and helps to not cause any stitching issues. I have also really enjoyed using Silco and Konfetti in my intense surface painting, as a contrast against the shine of rayon or polyester threads.

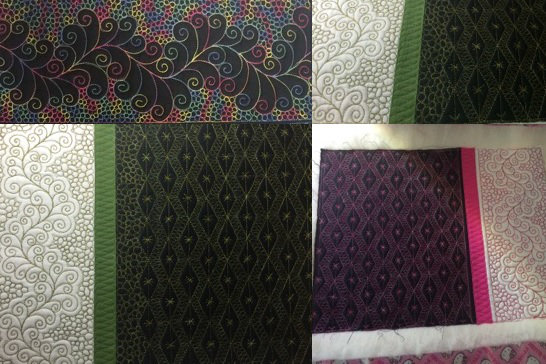
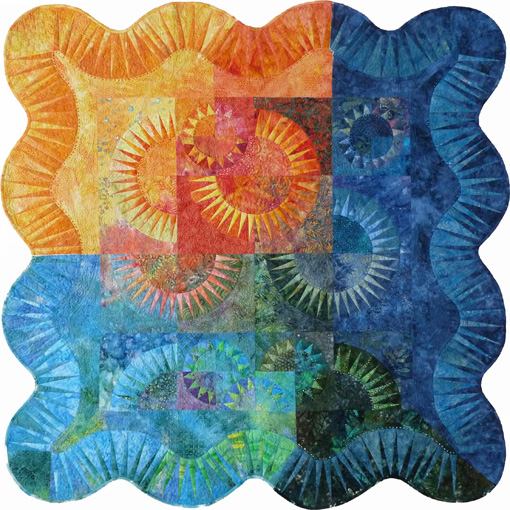
"Toward Wholeness"
using WonderFil Threads Accent, Silco, Splendor, PolyFast and Spotlite

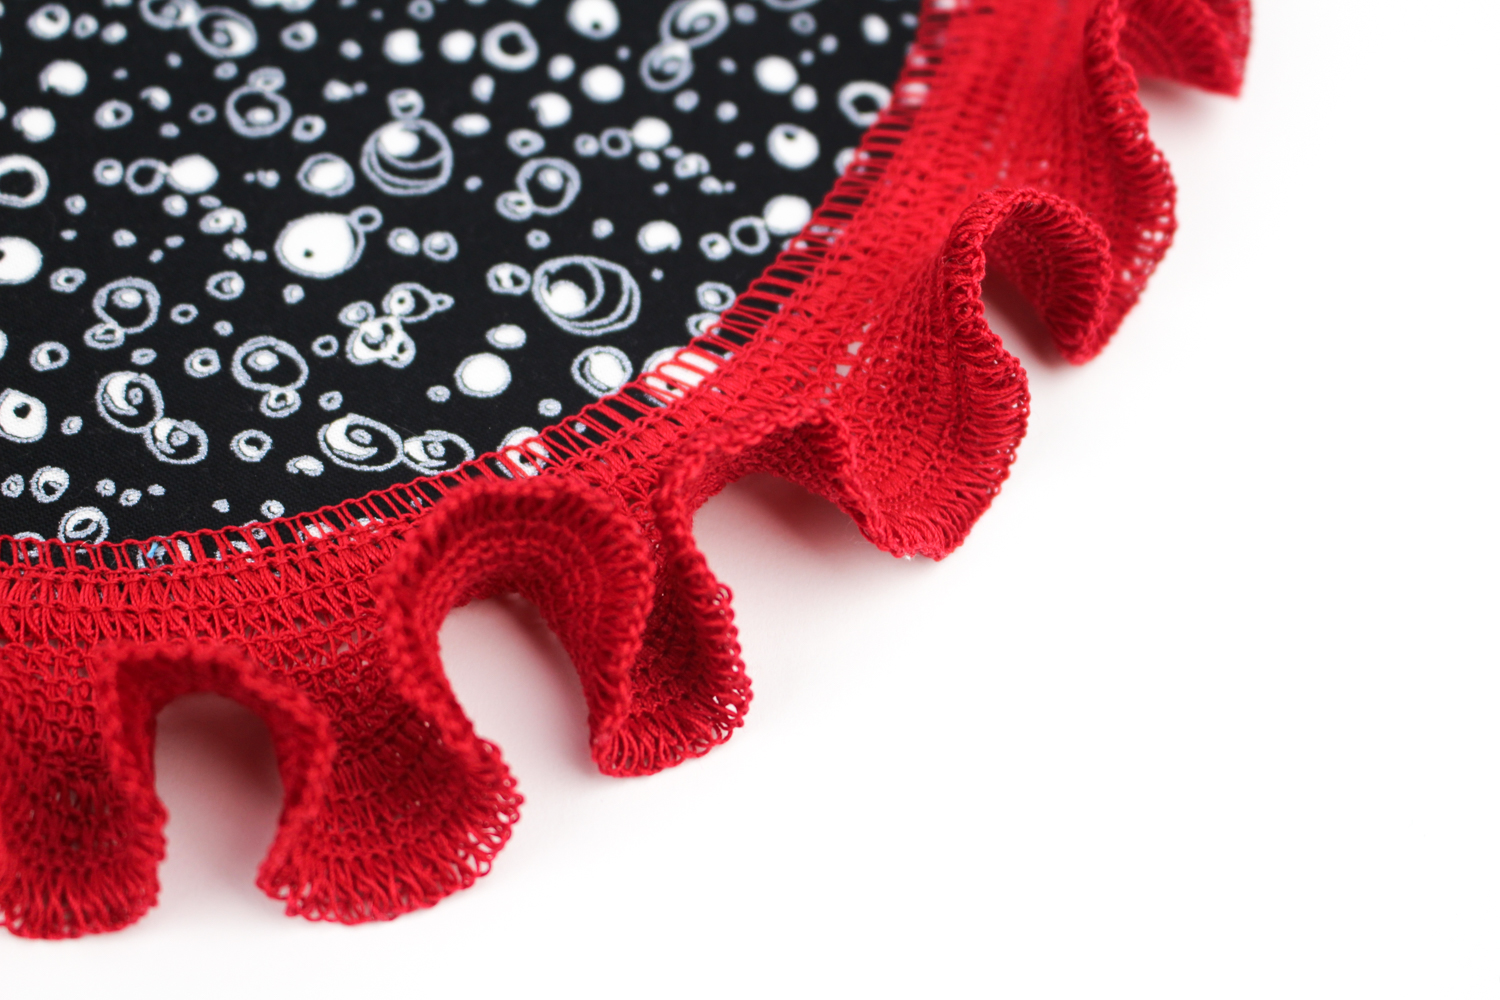
"Toward Wholeness" closed up